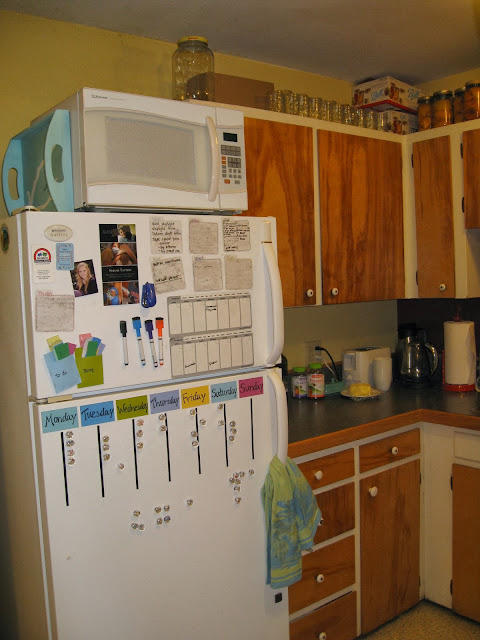
Here's the old kitchen, pre-destruction in December of 2012:
And here goes demolition! Our friend Jed helped with a lot of the tear out.
This is the wall opened up that we took out:
Here's the 7!! layers of flooring under the current floor. Several layers of linoleum, some particle board between layers, and most importantly CARPET from long ago. Kitchen carpet that they just covered up. It was probably the most toxic part of the whole remodel.
Less than a day in and we hit one of the larger snags in the project. The wall was actually a structural wall... That makes it a little harder to get rid of...
Here's the beam in the attic supporting the gap between the kitchen and the garage. I couldn't see it earlier because all the loose-fill insulation was covering it.
Fortunately, Uncle Bert is an architect and after a few phone calls and some emailed plans and drawings, he came up with a solution. Make the board WAY bigger, and just a little longer to support the larger gap that we made by taking out the wall.
Riley helped pound all the nails (lots and lots of nails) in. I don't think the attic was up to normal safety and health standards... but he's alive. The duct tape is covering up the hole we had to cut into the garage to get the 12 foot beams in.
Here's the finished beam:
And it worked!! The ceiling didn't collapse or anything! Thanks Uncle Bert!
Christmas was a little sad in our house last year. This was taken mid-wiring and plumbing, so we had no sink or oven to use. We washed dishes in the utility sink in the garage and got really tired of microwave meals.
On to plumbing, here we are in the crawl space putting in the new drain line for the new sink location. You can also see the beam just behind the pipe that we put in to support the floor boards that had been sagging under the old wall. This is supporting the weight from the beam in the attic, which is just over the new beam down here.
We had to replace all the drain line in the house since the galvanized had started rusting through in spots. The project tended to get bigger on its own...
Here's the final wiring in the attic. Dad helped with all the wiring, and made sure I didn't do anything too dangerous.
Ceiling work is done! Drywall patches are in, so it stopped randomly raining attic insulation on us. That was nice.
Here's all the new plumbing, including the new drain line, new vent, and the new supply lines running around the kitchen to the new sink area on the left side of the kitchen. Wiring is all done too.
Had to reroute a lot of the electrical around the new gap in the wall...
Here's the drain and supply in place for the sink.
Big step here. Kate made me stop taking pictures and actually get some work done. Walls are in and painted, lights are in, and most impressive of all is Kate's professional texturing job on the ceiling that blends perfectly with the rest of the room!
And there's a cabinet in! We got all the cabinets and the sink and range hood at Ikea, which made things easy to install and I could figure it out as I went. Turns out being able to return stuff is important when you have no idea what you're doing. Unfortunately, I got really used to driving to the nearest Ikea in Portland last Spring.
Sink cabinet and power for the garage disposal (which is new, we didn't have one before!)
The oven's back!!! We can eat real food again!!!
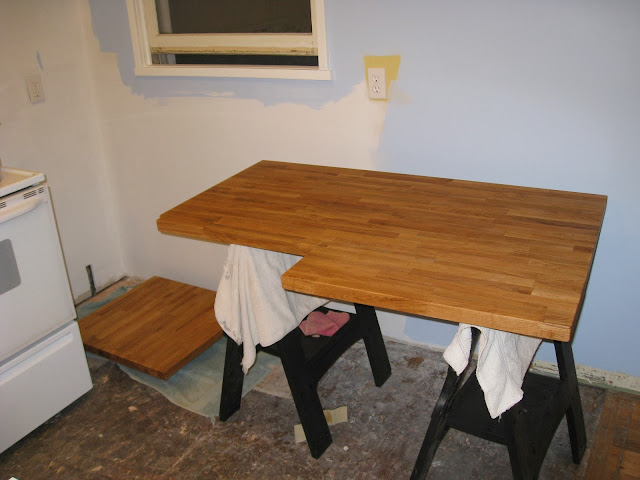
This is working on the finish for the oak countertops. To do the corners right we had to carefully join two pieces of the countertop. Steve (Kate's dad) was the wood and cabinet expert, and helped with all that stuff. It turned out really well, you can't find the joint at all.
Left countertops in, and a SINK!! Now we're back to a useable kitchen, if somewhat messy.
We love this sink, it's wonderful. Everything fits in it!
Detail of the joint we made. We had to do this on both sides of the oven.
Dishwasher semi-installed. The real bummer was it came broken, so we couldn't finish the installation for about a month as the repair folks came and went. Pretty frustrating, but in the end we got a dishwasher, which we also didn't have before, and it's amazing. Nothing better than going to bed while it's doing the dishes for you!
Upper cabinets in, and the far side base cabinets going in too.
Putting stuff back in the kitchen! A little prematurely, but we really wanted the rest of the house back.
Kate and Jed surprised me by doing the floor for me while I was at work one day!
Here's the whole fridge enclosure done too. This was around March when this got done. Work started getting busy for me, so the final finishing touches got slightly delayed (OK, a lot delayed) and I didn't really work on the kitchen again until December. But it's usable!
And here's the finished kitchen! We did the tile backsplash (which was a very very long day), Steve helped me build the bar top out of a nice piece of oak he had at the farm for a long time, and we did all the little trim bits too like toekicks, crown moulding, etc. It's so great to have it done!! It was almost even done by Christmas, although not quite.
And here's the kitchen populated with people, dog, and stuff.


Wow! After looking back now at ALL the pictures, this was a really amazing project! Fantastic how it all came together! Looks like you'll have many 'happy meals' there now!!
ReplyDeleteBob